【Kotlin】サイドメニューで画面遷移してみる
はじめに
前回DrawerLayoutをつかってサイドメニューを実装しましたが、今回加えて画面遷移をする必要があったのでやってみます。前回の記事はこちらです。
mtryo1021.hatenablog.com
画面遷移には、Fragmentを使用します。なので、実際には画面遷移しているわけではなくMainActivityのFragment部分に対応するレイアウトファイルを挿入する形になります。
前回の記事との重複になるところがありますが、いちから実装を書いていきます。(下記忘れているとこがあったので....)
概ね参考文献のままですがKotlinへの書き換えおよび、必要に応じて書き換えを行っています。
参考文献は最後に載せています。
完成目標
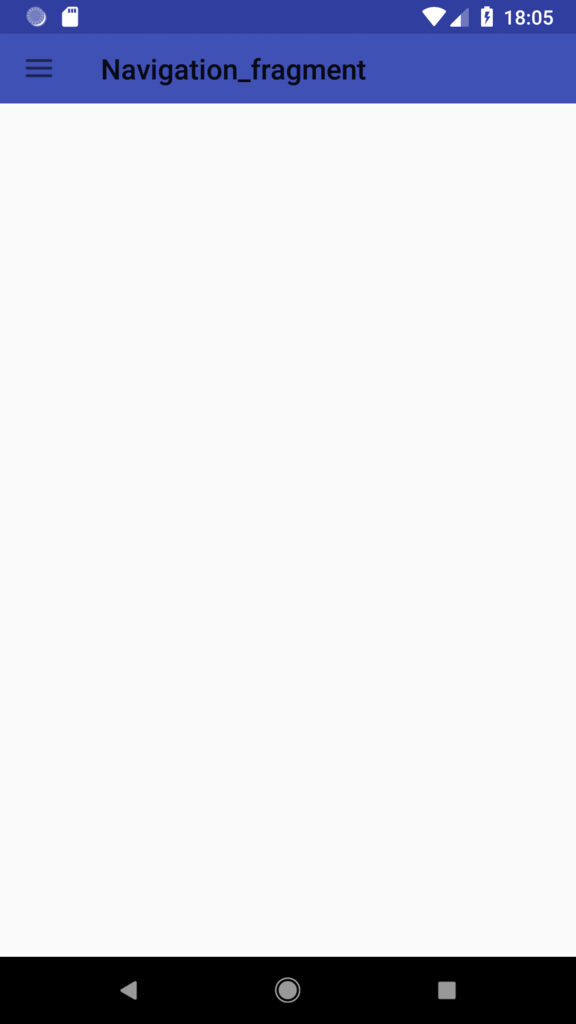
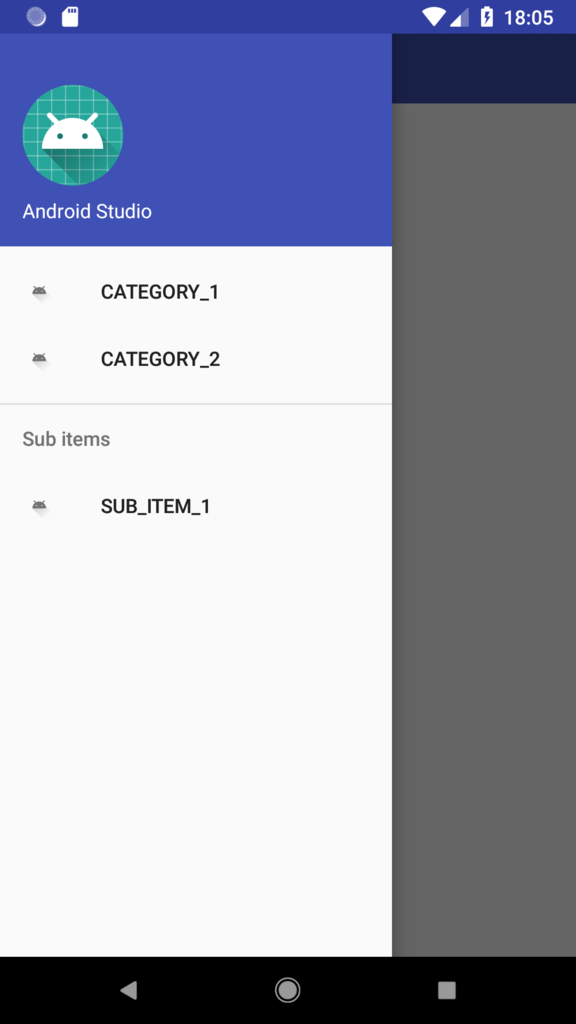
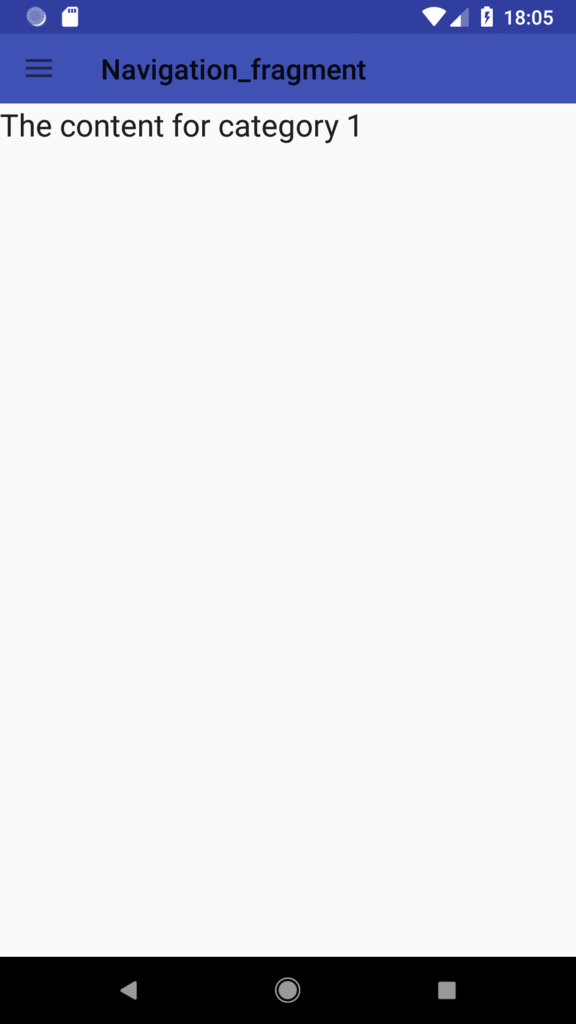
完成は以下のようになります。


準備
準備としてbuild.gradle(Module: app)に以下を書き加えます。build.gradle(Module: app)
implementation 'com.android.support:design:28.0.0'
レイアウトファイルの作成
必要なレイアウトファイルを作成していきます。まず、activity_main.xmlから編集します。
activity_main.xml
<android.support.v4.widget.DrawerLayout xmlns:android="http://schemas.android.com/apk/res/android"
    xmlns:app="http://schemas.android.com/apk/res-auto"
    xmlns:tools="http://schemas.android.com/tools"
    android:id="@+id/drawer_layout"
    android:layout_width="match_parent"
    android:layout_height="match_parent"
    android:fitsSystemWindows="true"
    tools:context=".MainActivity"
    tools:openDrawer="start">

    <LinearLayout
        android:layout_width="match_parent"
        android:layout_height="match_parent"
        android:orientation="vertical">

        <include
            layout="@layout/header"
            android:layout_width="match_parent"
            android:layout_height="50dp"/>

        <FrameLayout
            xmlns:android="http://schemas.android.com/apk/res/android"
            android:id="@+id/frame_contents"
            android:layout_width="match_parent"
            android:layout_height="match_parent">

        </FrameLayout>
    </LinearLayout>

    <android.support.design.widget.NavigationView
        android:id="@+id/nav_view"
        android:layout_width="wrap_content"
        android:layout_height="match_parent"
        android:layout_gravity="start"
        android:fitsSystemWindows="true"
        app:headerLayout="@layout/nav_header"
        app:menu="@menu/nav_items" />

</android.support.v4.widget.DrawerLayout>
画面のヘッダー部分をheader.xmlとして作成します。
ここでアクションバーのかわりにツールバーを使用します。
header.xml
<android.support.design.widget.CoordinatorLayout
    xmlns:android="http://schemas.android.com/apk/res/android" android:layout_width="match_parent"
    android:layout_height="match_parent">

    <android.support.design.widget.AppBarLayout
        android:id="@+id/appbar"
        android:layout_width="match_parent"
        android:layout_height="match_parent">

        <android.support.v7.widget.Toolbar
            android:id="@+id/toolbar"
            android:layout_width="match_parent"
            android:layout_height="match_parent" />

    </android.support.design.widget.AppBarLayout>

</android.support.design.widget.CoordinatorLayout>
サイドメニューのレイアウトの作成も行います。
まず、サイドメニューのヘッダーです。
nav_header.xml
<LinearLayout xmlns:android="http://schemas.android.com/apk/res/android"
    android:layout_width="match_parent"
    android:layout_height="176dp"
    xmlns:app="http://schemas.android.com/apk/res-auto"
    android:background="@color/colorPrimary"
    android:gravity="bottom"
    android:orientation="vertical"
    android:paddingBottom="16dp"
    android:paddingLeft="16dp"
    android:paddingRight="16dp"
    android:paddingTop="16dp"
    android:theme="@style/ThemeOverlay.AppCompat.Dark">

    <ImageView
        android:id="@+id/imageView"
        android:layout_width="wrap_content"
        android:layout_height="wrap_content"
        android:contentDescription="Navigation header"
        android:paddingTop="8dp"
        app:srcCompat="@mipmap/ic_launcher_round" />

    <TextView
        android:layout_width="match_parent"
        android:layout_height="wrap_content"
        android:paddingTop="8dp"
        android:text="Android Studio"
        android:textAppearance="@style/TextAppearance.AppCompat.Body1" />

</LinearLayout>
サイドメニューの内容はres/menu/に作成します。
nav_items.xml
<menu xmlns:android="http://schemas.android.com/apk/res/android">
    <group android:checkableBehavior="single">
        <item
            android:id="@+id/nav_item_category_1"
            android:icon="@drawable/ic_launcher_foreground"
            android:title="CATEGORY_1" />
        <item
            android:id="@+id/nav_item_category_2"
            android:icon="@drawable/ic_launcher_foreground"
            android:title="CATEGORY_2" />
    </group>

    <item android:title="Sub items">
        <menu>
            <item
                android:id="@+id/nav_sub_item_1"
                android:icon="@drawable/ic_launcher_foreground"
                android:title="SUB_ITEM_1" />
        </menu>
    </item>
</menu>
遷移先画面の作成
nav_items.xmlに記述の通り今回は3画面のレイアウトを作成します。fragment_category_one.xml
<android.support.constraint.ConstraintLayout
    xmlns:android="http://schemas.android.com/apk/res/android" android:layout_width="match_parent"
    android:layout_height="match_parent">

    <TextView
        android:layout_width="wrap_content"
        android:layout_height="wrap_content"
        android:textAppearance="?android:attr/textAppearanceLarge"
        android:text="The content for category 1" />
</android.support.constraint.ConstraintLayout>
fragment_category_two.xml
<android.support.constraint.ConstraintLayout
    xmlns:android="http://schemas.android.com/apk/res/android" android:layout_width="match_parent"
    android:layout_height="match_parent">

    <TextView
        android:layout_width="wrap_content"
        android:layout_height="wrap_content"
        android:textAppearance="?android:attr/textAppearanceLarge"
        android:text="The content for category 2" />
</android.support.constraint.ConstraintLayout>
fragment_sub_category_1.xml
<android.support.constraint.ConstraintLayout
    xmlns:android="http://schemas.android.com/apk/res/android" android:layout_width="match_parent"
    android:layout_height="match_parent">

    <TextView
        android:layout_width="wrap_content"
        android:layout_height="wrap_content"
        android:textAppearance="?android:attr/textAppearanceLarge"
        android:text="The content for sub category 1" />
</android.support.constraint.ConstraintLayout>
それぞれに対して、Kotlinファイルを作成しFragmentを継承したクラスを作成します。
onCreate()はそのままなので記述しなくても大丈夫です。
CategoryOne.kt
class CategoryOne(): Fragment() {
    override fun onCreate(savedInstanceState: Bundle?) {
        super.onCreate(savedInstanceState)
    }

    override fun onCreateView(inflater: LayoutInflater, container: ViewGroup?, savedInstanceState: Bundle?): View? {
        return inflater.inflate(R.layout.fragment_category_1, container, false)
    }
}
CategoryTwo.kt
class CategoryTwo(): Fragment() {
    override fun onCreate(savedInstanceState: Bundle?) {
        super.onCreate(savedInstanceState)
    }

    override fun onCreateView(inflater: LayoutInflater, container: ViewGroup?, savedInstanceState: Bundle?): View? {
        return inflater.inflate(R.layout.fragment_category_2, container, false)
    }
}
SubCategoryOne.kt
class SubCategoryOne(): Fragment(){
    override fun onCreate(savedInstanceState: Bundle?) {
        super.onCreate(savedInstanceState)
    }

    override fun onCreateView(inflater: LayoutInflater, container: ViewGroup?, savedInstanceState: Bundle?): View? {
        return inflater.inflate(R.layout.fragment_sub_category_1, container, false)
    }
}
サイドメニューを適用
サイドメニューを開閉するためにstring.xmlを編集します。strings.xml
<string name="nav_open">Navigation Drawer Open</string>
<string name="nav_close">Navigation Drawer Close</string>
ここまでできたらMainActivity.ktを編集していきます。
クラスがNavigationView.OnNavigationItemSelectedListenerを継承しているので注意してください。
MainActivity.kt
class MainActivity : AppCompatActivity(), NavigationView.OnNavigationItemSelectedListener {

    override fun onCreate(savedInstanceState: Bundle?) {
        super.onCreate(savedInstanceState)
        setContentView(R.layout.activity_main)

        this.setToolbar()
        this.setDrawerLayout()
    }

    private fun setToolbar(){
        setSupportActionBar(toolbar)
        supportActionBar!!.setDisplayShowHomeEnabled(false)
    }

    private fun setDrawerLayout(){
        val toggle = ActionBarDrawerToggle(Activity(), drawer_layout, toolbar, R.string.nav_open, R.string.nav_close)
        drawer_layout.addDrawerListener(toggle)
        toggle.syncState()
        nav_view.setNavigationItemSelectedListener(this)
    }

    override fun onNavigationItemSelected(item: MenuItem): Boolean {
        var fragment: Fragment? = null
        when (item.itemId) {
            nav_item_category_1 ->
                fragment = CategoryOne()
            nav_item_category_2 ->
                fragment = CategoryTwo()
            nav_sub_item_1 ->
                fragment = SubCategoryOne()
        }
        // Replace the fragment.
        if (fragment != null) {
            val ft = supportFragmentManager.beginTransaction()
            ft.replace(R.id.frame_contents, fragment)
            ft.commit()
        }
        // Close the Navigation Drawer.
        drawer_layout.closeDrawer(GravityCompat.START)
        return true
    }
}
最後にアクションバーを無効化するためにstyles.xmlを編集します。
これは、新しいstyleを作成しManifestに適用するstyleを変更しても大丈夫です。
styles.xml
<style name="AppTheme" parent="Theme.AppCompat.Light.DarkActionBar">
        <!-- Customize your theme here. -->
        <item name="colorPrimary">@color/colorPrimary</item>
        <item name="colorPrimaryDark">@color/colorPrimaryDark</item>
        <item name="colorAccent">@color/colorAccent</item>

        <item name="windowActionBar">false</item>
        <item name="windowNoTitle">true</item>
</style>
まとめ
完成!サイドメニューを実装するだけでいかにもな感じになりますね!
ではでは....
参考文献
noknow.infoyoutu.be
stackoverflow.com